Bidford-on-Avon, Warwickshire. Mon to Fri.01789 224228

Knowledge · For panel manufacturers & architects

Working with your architect on custom cladding texture.

The best custom textures come from an early, honest three-way conversation between the architect, the panel manufacturer and the mould maker. Here's how to run that conversation well.

GuideFor manufacturers
Read~5 minutes
UKMade
2026Updated

The three-way conversation

Get everyone in the room before the tool is quoted.

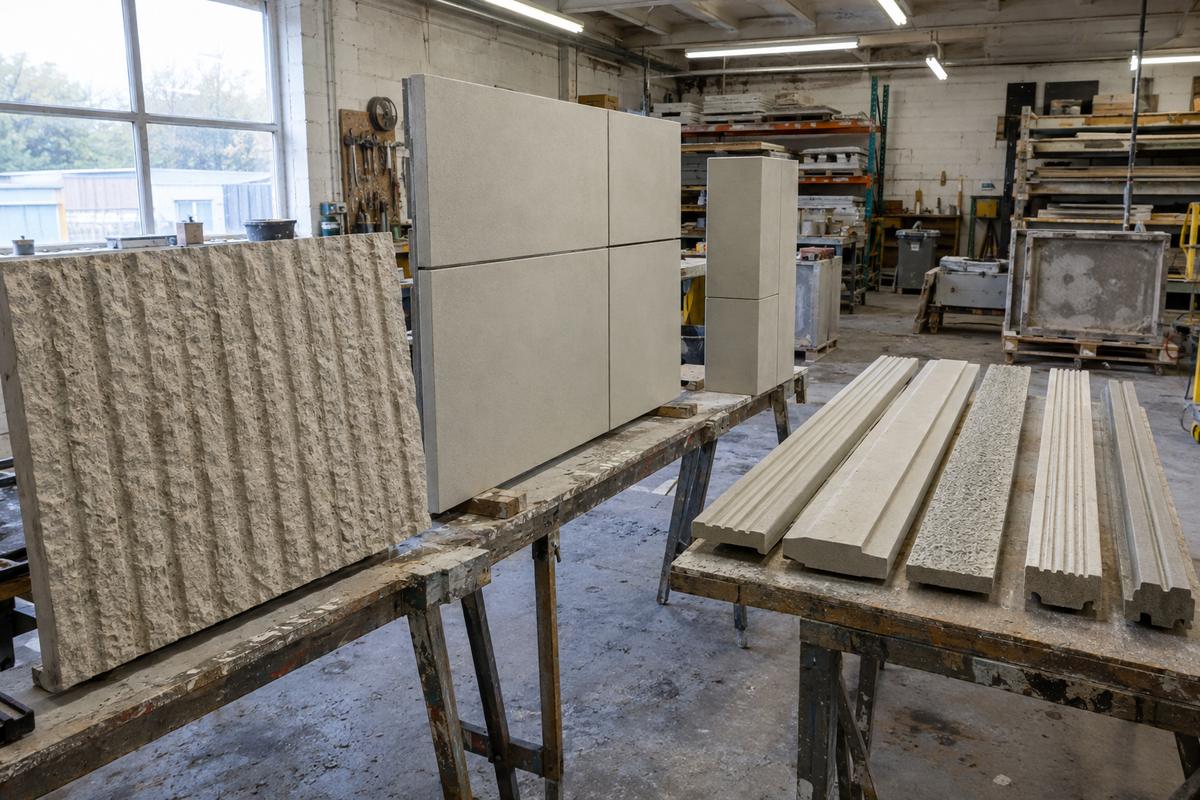
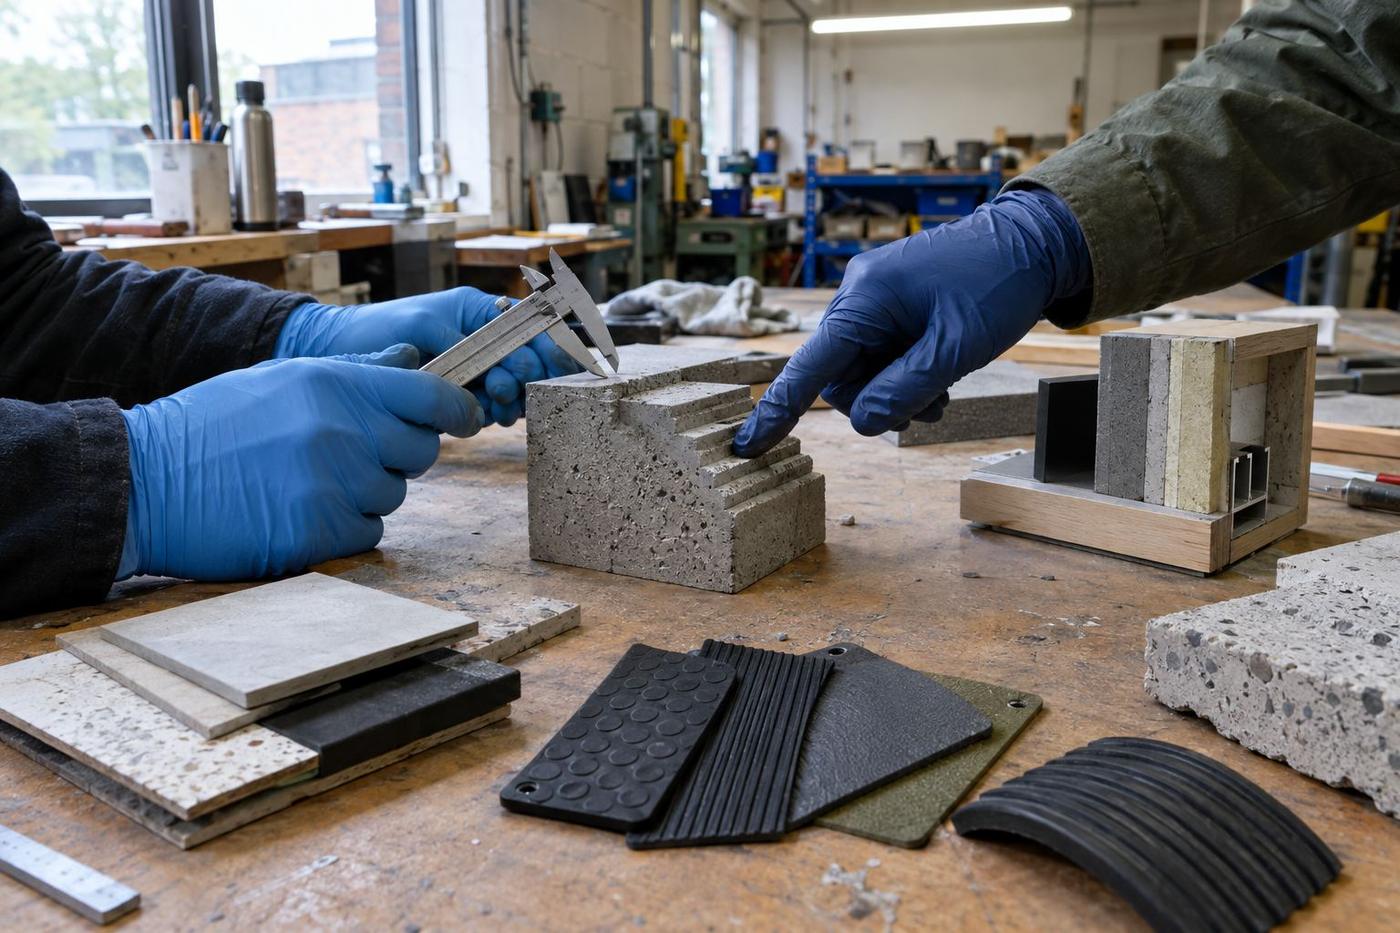
Concrete texture sample, mould pieces and panel mock-up laid out together
Samples and mock-up reviewed together before tooling

Custom cladding textures typically fail one of three ways: the architect draws a texture that won't demould, the panel manufacturer quotes a tool that won't achieve the visual intent, or the mould maker builds a tool that's technically fine but that neither party actually wanted.

All three failures share the same root cause — the three parties don't talk to each other early enough. When they do talk early, custom textures are one of the most rewarding parts of the job. When they don't, they're one of the biggest sources of programme pain.

This guide walks panel manufacturers through how to run the early conversation with their architect and their mould maker, in language that keeps everyone useful.

Concept stage

Four things to establish before anything is drawn in detail.

01

What the architect is trying to achieve visually

Not the specific texture yet, but the mood. Is this a bold statement facade or a subtle backdrop? Directional or non-directional? Light-and-shadow or all-over pattern? Get the intent clear before the detail.

02

Where the panel joints are going to fall

This determines where splices land. The architect probably hasn't thought about it yet at concept stage. Bring it up early — small changes to joint positions can make or break the moulding plan.

03

What the panel manufacturing constraints are

Panel size limits, face-mix options, fibre reinforcement, lift capacity in the yard. Constraints that will affect what the architect can realistically ask for.

04

What lead time the programme is working to

This determines whether the tool can be developed iteratively (sample panels, revisions, more samples) or has to be got right first time. Big impact on the design conversation.

Mock cladding panel with joint breaks and texture samples in workshop
Joint layout and texture tested before detail design

Development stage

Four steps to develop a custom texture without wasted work.

01

Reference textures first

Before drawing a new texture from scratch, gather references — photographs of existing buildings, natural materials, samples the architect has admired. Reference textures let the moulding conversation start with something concrete rather than something abstract.

02

Small sample panel from a small trial mould

Once the direction is agreed, build a small trial mould (typically 500mm square) and cast a sample panel in the specified face-mix. The sample panel is the honest evidence — always more useful than a rendering.

03

Revise the sample, not the drawing

If the first sample isn't right, adjust the pattern and cast another. It's much faster and cheaper than iterating the drawing and rebuilding the tool. Usually two or three samples get you where the architect wants to be.

04

Sign-off in writing on the sample

When the sample is approved, get sign-off in writing, ideally with a signature on the sample panel itself. This is the reference for every panel that comes off the tool.

Production stage

How to keep the texture consistent across the full production.

Every tool in the set from the same master pattern. If the elevation needs matched panels, every tool must be cast from the same master. Different masters, however carefully matched, will drift.

First-off on the bed with everyone present. When the production tooling is delivered, run a first-off pour with the architect and panel manufacturer present. Compare against the signed sample. Approve on the bed, not from a photograph.

Documented release regime per tool. Different reliefs sometimes need slightly different release regimes to look consistent across the elevation. Document what works on each tool so a rota-changing yard team maintains it.

Store a reference sample. Keep the approved sample panel on the shelf for the life of the programme. It's the objective reference against which any panel drift can be measured.
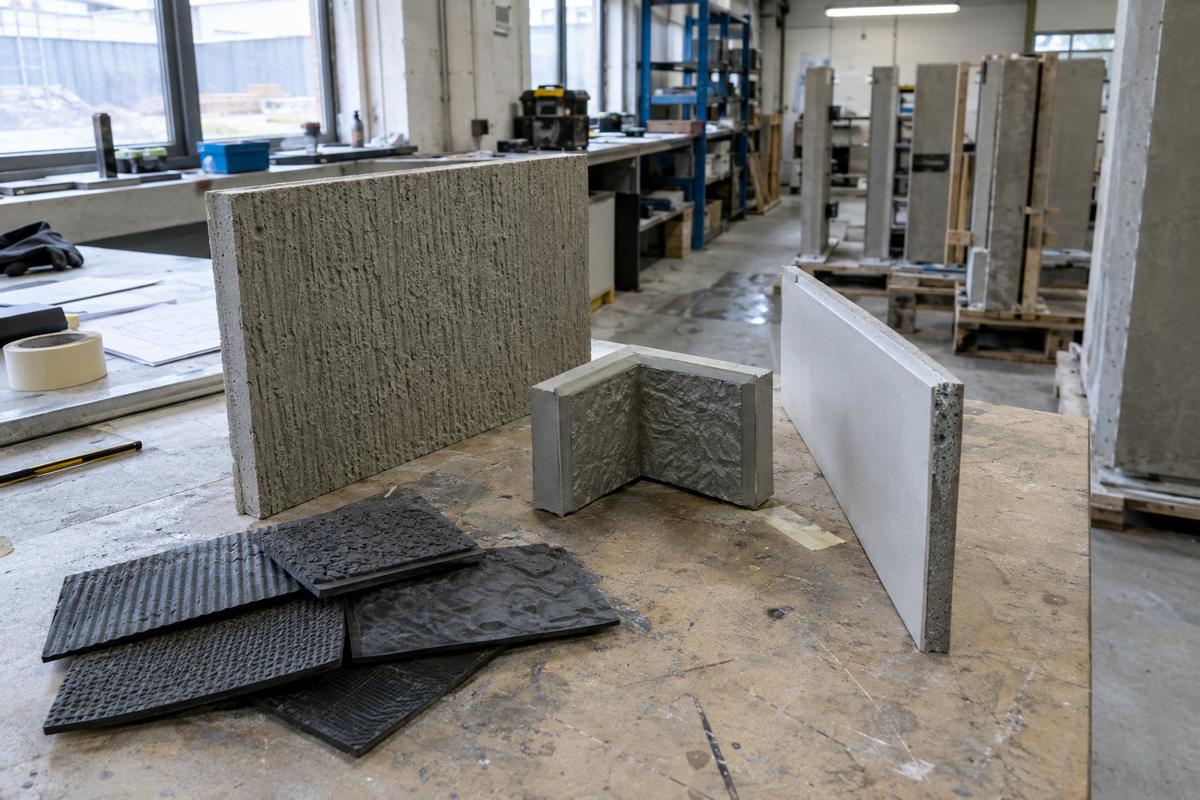
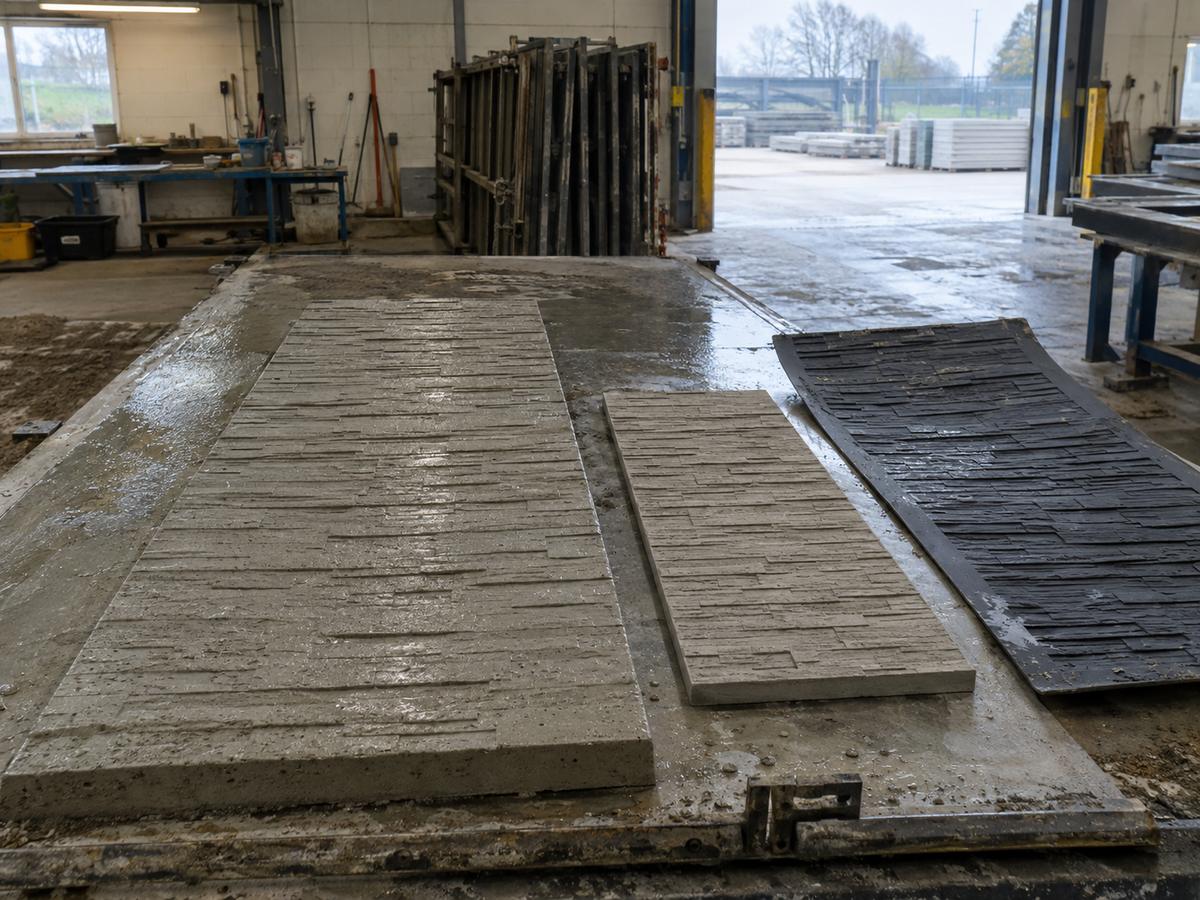
First-off textured concrete panel compared with reference sample at casting bed

Common failure modes

What to watch out for in the process.

The architect signs off a rendering instead of a sample panel. This is the single biggest cause of texture disputes late in a programme. A rendering shows what the architect hopes to see; a cast sample shows what the panel manufacturer can actually deliver. Only the sample is signable.

The mould gets tweaked between sample and production without informing the architect. If the moulding team makes a small change to improve demoulding — adding draft, softening a corner — that has to go back to the architect for approval. Silent changes cause silent surprises.

The programme runs against a mould that's ageing badly without anyone noticing. Set up a mid-programme sample check. Cast a panel every hundred pours and compare against the signed reference. Catch drift early, order replacement tooling early.

At a glance

The idea in a picture.

Planning liners across a wall

Liner joint placed on a pattern lineWindow or doorLiners repeat across the wall, with joints planned to disappear into the pattern

Swipe to see the whole diagram

We draw the layout with you so repeats, joints and returns line up before any liner is made.

FAQs

Common questions on custom cladding development.

Who pays for the sample panel work?

Usually part of the tooling development cost, folded into the main tool quote. We itemise it so everyone can see what's included.

Can we develop a custom texture at concept stage without committing to the tool?

Yes. We can produce a small sample from a trial mould for a modest fee, before the main tool is ordered. Useful for design competitions or client presentations.

How long does texture development take?

Usually two to four weeks from first conversation to approved sample. Longer if the architect wants multiple iterations. Plan for it in the programme.

Can you attend design meetings with the architect?

Yes. We travel for meetings where the outcome will save iterations later. Usually the best-value time we spend on a custom texture project.

What if the architect isn't sure what they want?

Reference textures first. Photographs of buildings, materials, samples. It's much easier to react to references than to work from a blank brief.

Get in touch

Send us a photograph of the panel or the elevation.

One photograph tells us what surface you're chasing, and one line about the mix tells us what silicone or polyurethane will survive it.

Real people, a real workshop

You deal with the people who make it.

No call centre and no middlemen. When you contact TCI Construction, you speak to the team who design, build and check your mould.

  • A real Warwickshire workshopUnit 15, Waterloo Park, Bidford-on-Avon, Alcester B50 4JG.
  • Real people on the phoneCall the team on 01789 224228, Monday to Friday.
  • The same team on every jobDesign, production and aftercare come from the people you see here.
  • Part of TCI GroupFive specialist brands, one engineering team. Visit TCI Group.
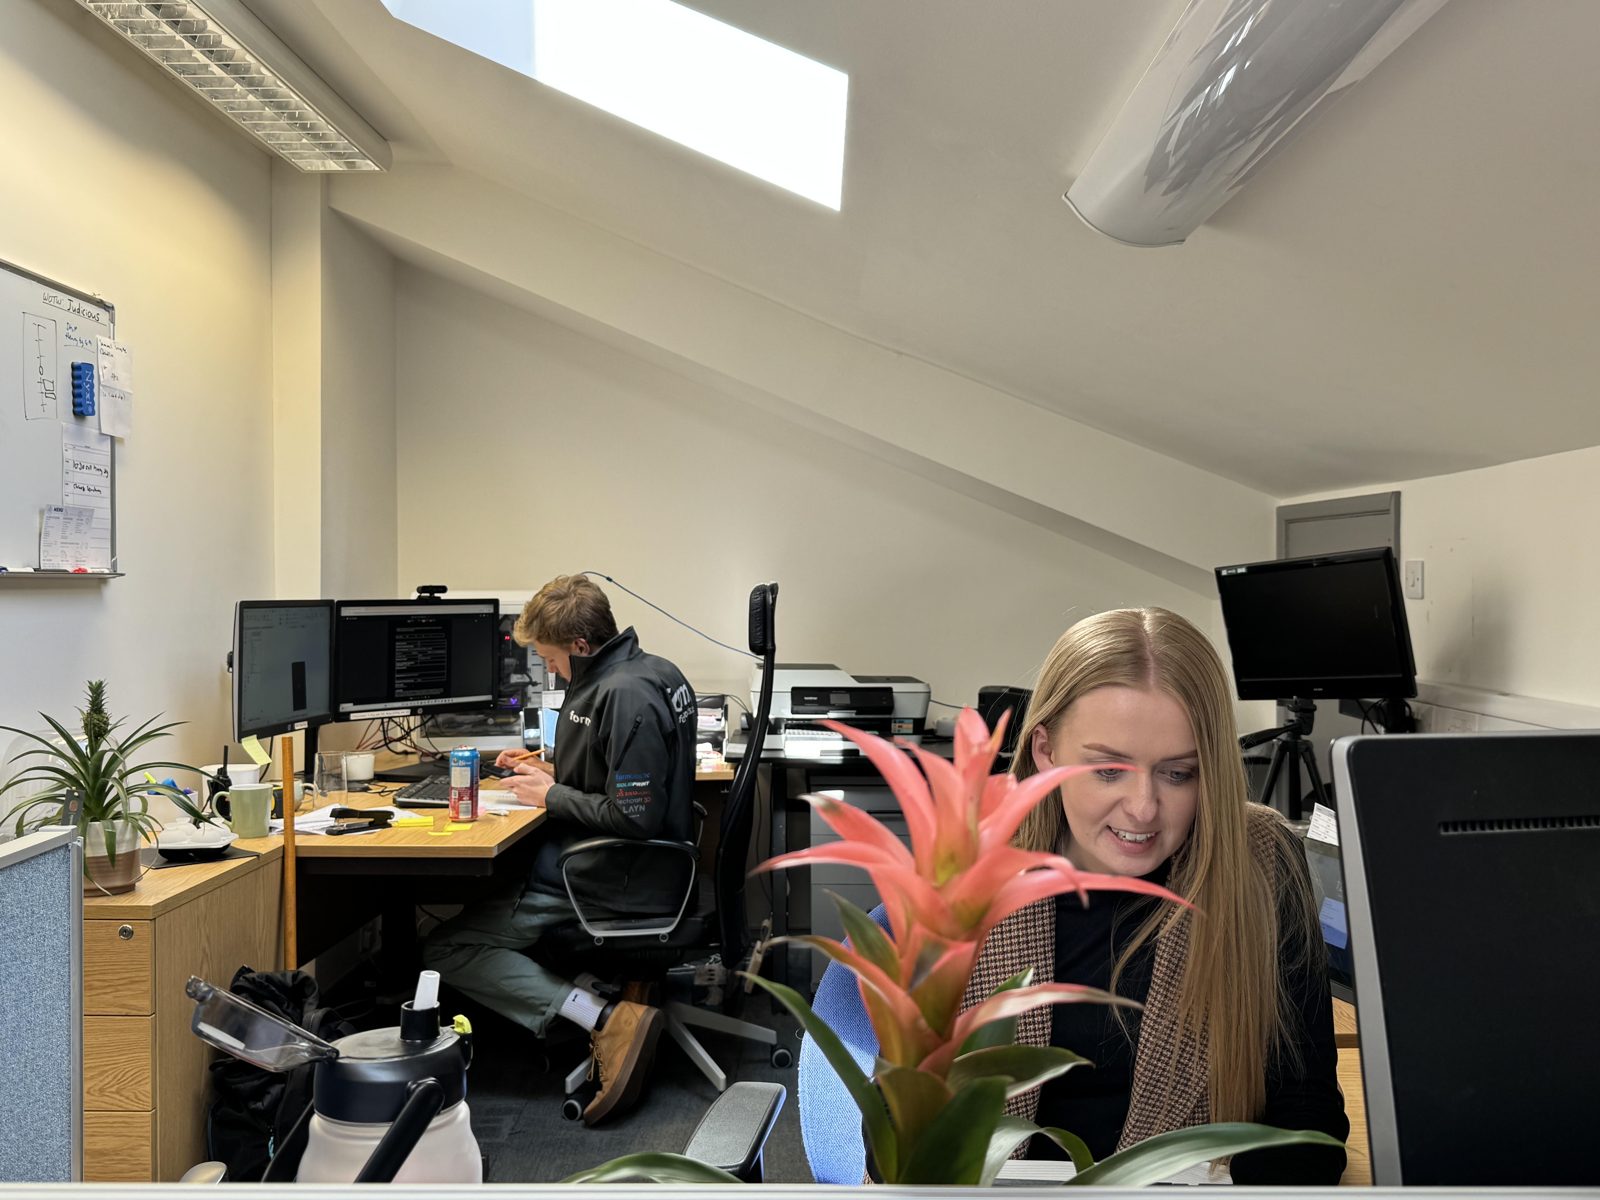
The TCI design and project office.
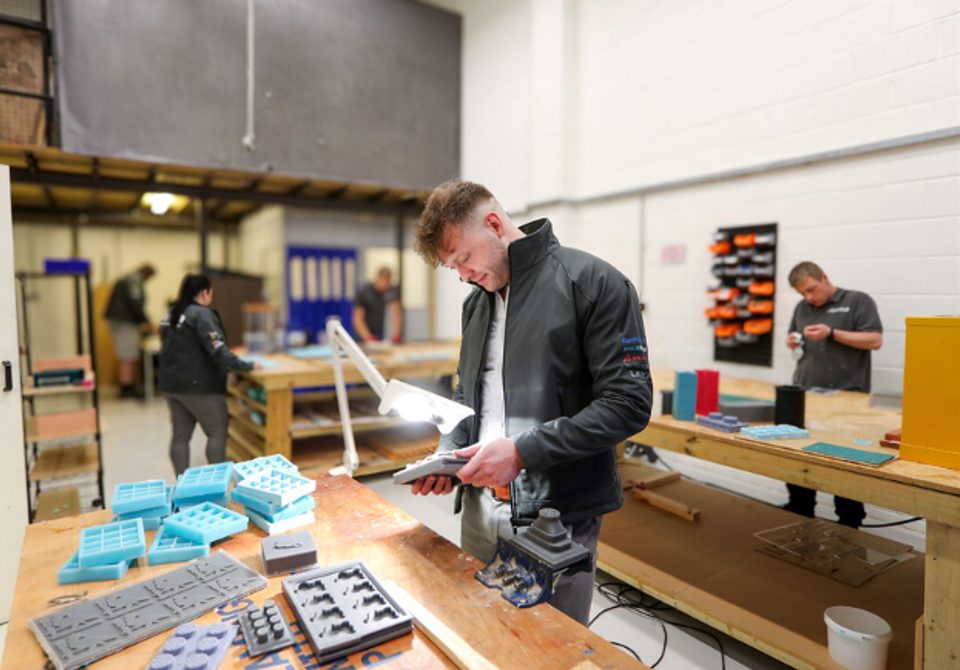
The TCI workshop, with moulds on the bench mid-build.
  • Thomas LaneManaging Director
  • George PrestonDesign & Project Manager
  • Kelly BallingerHead of Partnerships
  • Jim AndertonProduction Manager
  • TheodoreEmployee Welfare
Meet the team