Bidford-on-Avon, Warwickshire. Mon to Fri.01789 224228sales@tci-construction.com

Silicone Knowledge Hub

Everything we know
about silicone,
written down.

Everything we know about silicone in concrete and architectural casting, written down. Formliner release, alkaline attack, rigidity in GRC moulds, and how to specify tooling that survives a precast yard rather than a workshop.

Why this exists

Most silicone problems are specification problems.

A mould that never cured. A tool that lasted a tenth of its expected life. A part that tore on release. Nearly every failure we get asked to diagnose traces back to a decision taken before anything was manufactured: the wrong cure system, the wrong hardness, or a contaminant nobody thought to mention on the phone.

So we wrote down what we actually say on that phone call. Where a claim rests on a regulation or a supplier datasheet, the source is linked, so you can go and check it instead of taking our word. Where the honest answer is "it depends", we have said what it depends on.

If your question is not here, ask it. The answer usually comes from whoever specified the last job like yours, and if it is a good question it ends up on this page eventually.

Ask a technical question

Contents

4 articles.

Three are written for construction work specifically. The first is a short guide to the foundations, framed through construction, with each entry linking to the full article on the group site.

Foundations

Silicone foundations for a precast yard

Foundations · Six essentials, full articles on the group site

The chemistry is the group's. The conditions are a precast works and a site compound: abrasive alkaline mixes, steam curing, release agent by the drum and a strike crew working to a cycle. The full articles live once on the group site. These are the parts that change when the casting is concrete.

Silicone liner, urethane liner, or a steel form

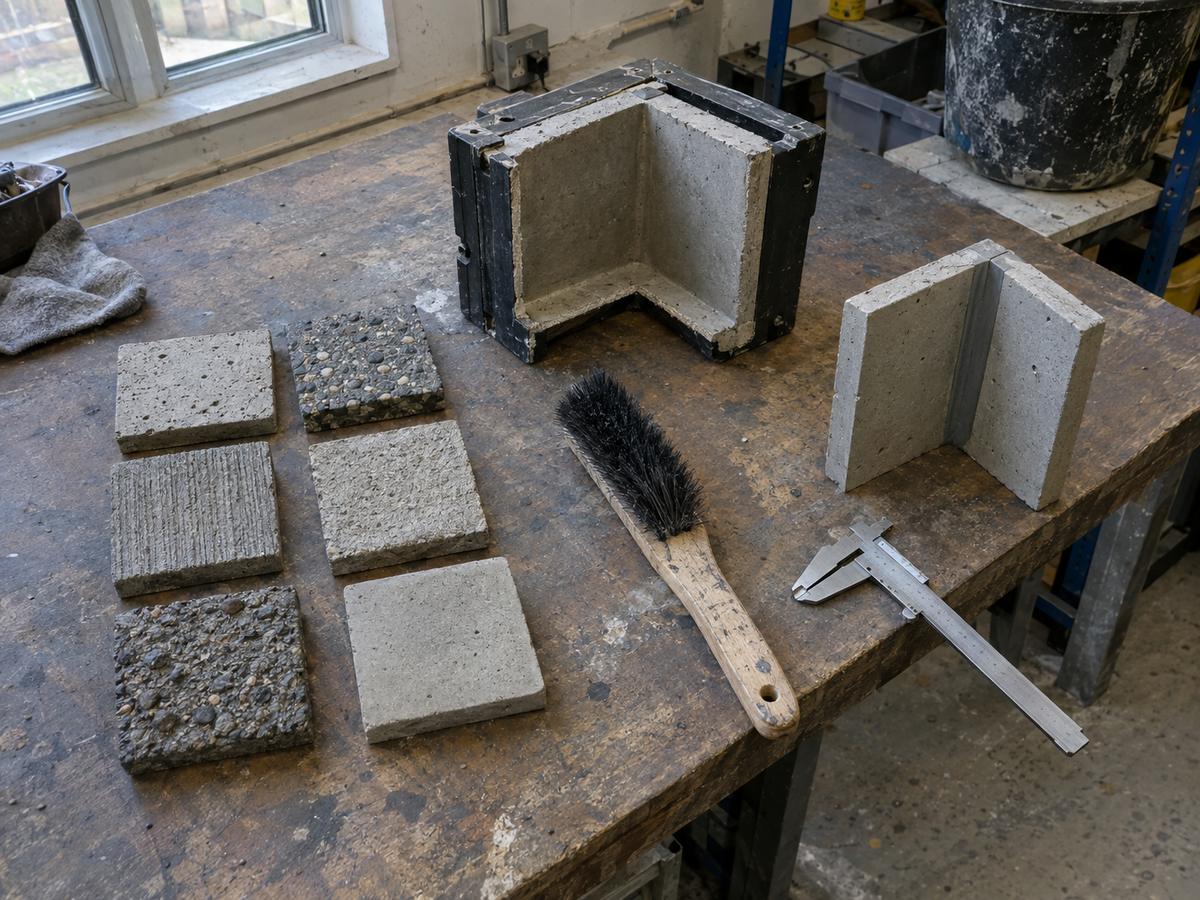
All three get specified here and the face decides which. Silicone reproduces board marking, split stone and deep relief at a fidelity the rigid options cannot reach, and it strips off returns and reveals that would lock a hard liner solid. Urethane earns its place in an abrasive yard casting coarse units daily, where a delicate silicone face would be polished away long before the mould failed, and a steel form beats both on plain panels at high counts. Elastomeric liners are normally quoted in hundreds of pours against tens for urethane (PERI UK and RECKLI), which is why the face is worth arguing about before the mix is.

The full material comparison, including hybrid tools

Cure system when the master is a weathered original

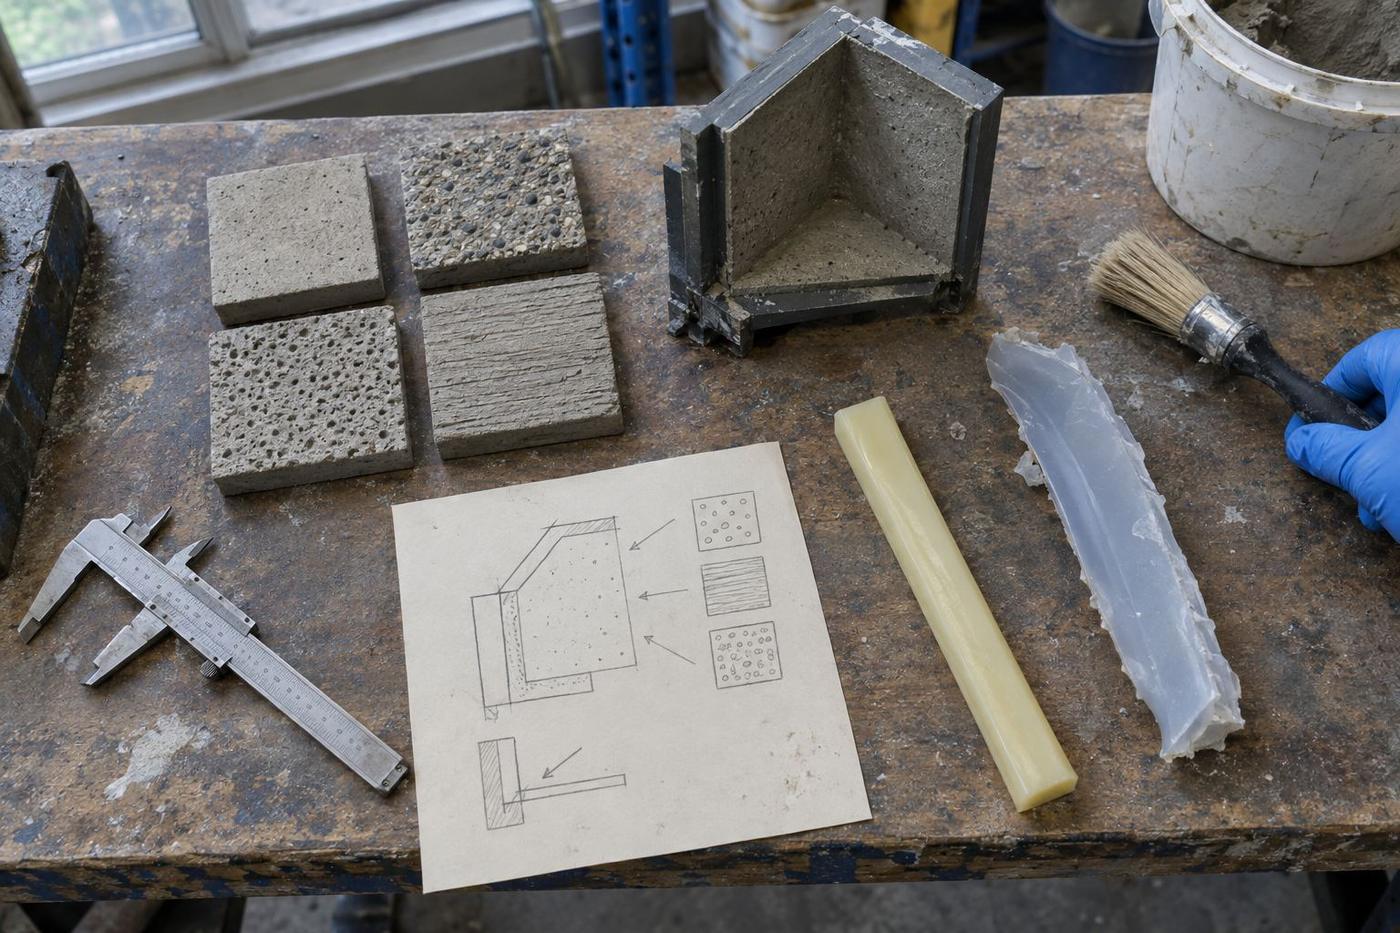
Repeat liners for a frame are addition cure, because a bay cast in March has to match a bay cast in September and a condensation cure carries on moving for months after it leaves the bench. The exception is a heritage profile taken off eroded stone that has already had a rubber pulled from it, where a tin cure over a properly sealed surface is sometimes the only way to get a pattern at all. Either way it is decided before the master is sealed rather than at the mould box, because tin residue on a pattern closes the platinum route for good.

Both cure systems in full, and why the order of work matters

Hardness against relief depth and the strike

Relief depth sets the soft end. A deep rib or an undercut reveal has to release without a crew levering at a green panel, and that is a stretch the liner has to make in one piece. The hard end is set by vibration and by arrises, because a face that moves under the poker loses the crisp edge a cast stone unit is bought for. Between the two the answer is usually a thinner elastomeric face on properly rigid backing rather than a harder rubber, and it is confirmed against your mix.

What hardness buys at each end of the scale

Nothing here is decided by the rubber alone. In a yard, the backing, the release regime and the strike decide as much as the material does.

Inhibition in a working yard

Three things account for most of it here. Resin used to repair or build up a master that has not been left to cure right through, sulphur carried by some rubber formwork seals and modelling materials, and release agent still on formwork a pattern was taken from. Cold is the fourth and it is not inhibition at all: an unheated yard in winter slows a cure right down and gets reported as a failure before it has finished. A test cure on the actual master, at the temperature the work is happening at, settles all four.

The full inhibitor list and the recovery sequence

Pours per liner, and what ends them early

Liners rarely die of old age. They are lost to the wrong release agent softening the face, to mechanical damage taken during the strike, and to somebody cutting on the liner instead of on a bench. Abrasion and the alkalinity of the mix do the slow work behind all of that, and accelerated curing hurries it along. Count pours per liner rather than panels per programme, because that number shows how well the tooling was specified for the cycle you are actually running.

The five factors that decide tool life, in order

Draft, reveals and where the joint lands

Architectural geometry is where mouldability meets the elevation drawing. A degree of draft on a return costs the design very little and takes real force out of every strike. A reveal that has to be modelled as an undercut is better solved with a split liner than with a softer rubber. And the joint has to land somewhere, so it is worth choosing the arris or the shadow gap that hides it while the panel is still a model rather than finding it on the first visible face.

Draft, undercuts, parting lines and venting in full

The group Knowledge Hub carries all six in full, with the supplier and industry sources attached. The three articles below are about formliners, precast and cast stone and are written for this division only.

Back to contents

Concrete

Formliners and release agent: what causes concrete surface defects?

Technical reference · Architectural concrete

An architectural panel comes out of the yard with blemishes on the visible face and the first suspect is always the mix. Often it is the interface: the liner, the release agent, or the fact that air had nowhere to go.

Why use silicone formliners for architectural concrete?

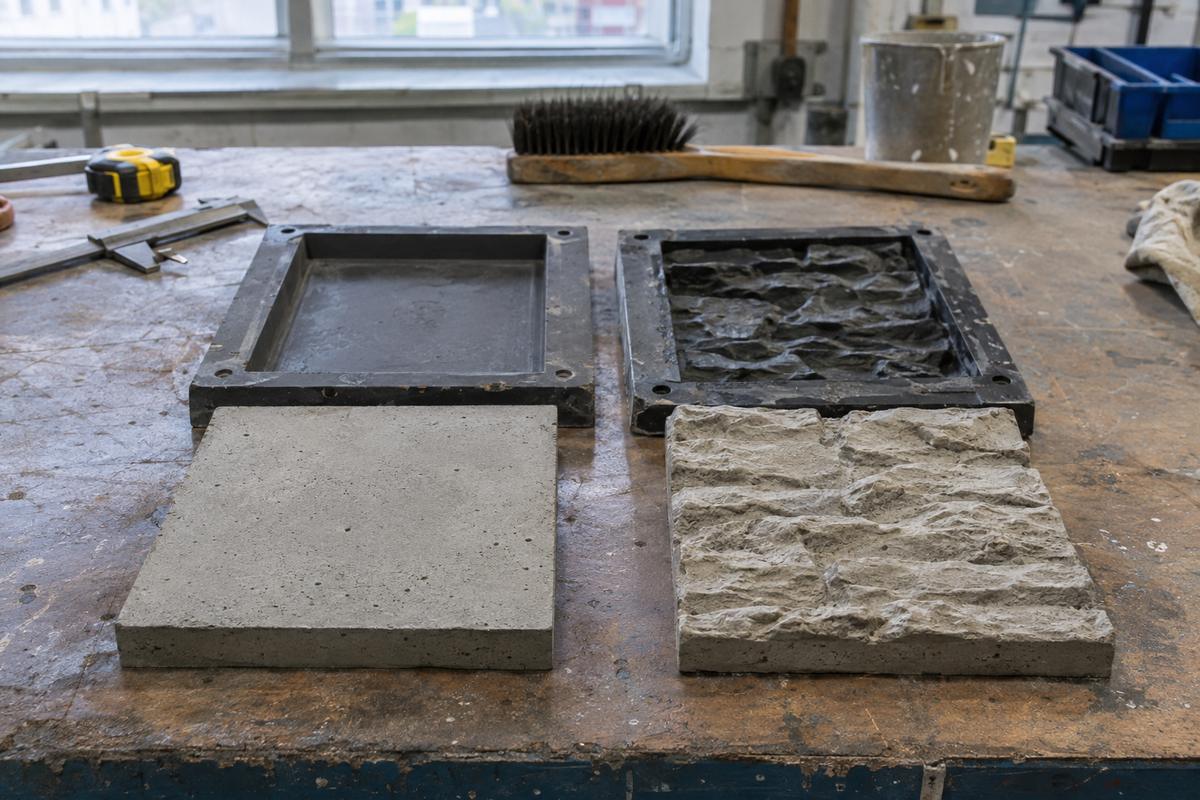
Silicone liners reproduce texture at a fidelity rigid liners cannot approach. Timber grain, split stone, board-marked finishes, fabric, custom relief. They flex off deep relief and modest undercuts that would lock a rigid liner solid, and they release cleanly enough to cut your reliance on release agent, which is itself a common source of surface staining.

They are neither the cheapest route per square metre nor the toughest. Concrete is abrasive and strongly alkaline. For flat, high-cycle, low-detail work a urethane or steel form will outlast silicone comfortably. Silicone earns its place where the surface is the whole point of the panel.

What causes blowholes and bugholes?

Air trapped against the form face. The usual culprits are vibration technique, pour rate, mix workability, and form geometry that leaves air with nowhere to escape to. A liner cannot fix a fill strategy. Liner geometry can make air escape easy or impossible, so it belongs in the conversation early rather than after the first pour.

Release agent, used properly

More is not better. Excess release agent pools in relief, retards the surface locally, and shows up as discolouration and dusting on the finished panel. On silicone the correct quantity is usually a good deal less than crews are used to applying, and on some geometries none at all. Worth a trial panel to find out.

Cast a trial panel with the actual mix, the actual crew and the actual liner before you commit to a facade. It is the cheapest risk reduction on the whole project.

Single use against multi use

A liner used once and a liner used through a whole frame are different purchases from the same drawing. On a single feature elevation there is no amortisation to be had, so the liner is a cost accepted in order to get the finish, and it should be specified for the finish alone. Once the same bay repeats, the money moves from the face to whatever keeps the face alive, which is the backing, the hardness and the strike sequence.

The strike is where liners get damaged

Most liner damage happens in the minutes after a panel is lifted rather than during the pour. Levering against the face, dragging a unit across it, cutting on it and stacking tools unsupported all leave marks that then reproduce on every panel after them. Write the strike sequence down with the tooling, keep a separate bench for cutting, and store liners flat, supported and out of direct sunlight.

Draft, relief depth and what will actually come out

A texture that looks good on a sample board can be very hard to strike on a full panel. Deep relief with little draft locks the unit in, so the crew either lever against the face or wait, and both cost more than the texture was worth. The fix is usually to keep the visual character and soften the geometry at the base of each feature, which is a conversation to have while the elevation is still a drawing. Send the pattern intent early and it can be made buildable without losing what the architect wanted.

Joints, returns and where the eye goes

On a finished facade the joints are as visible as the texture, and they are decided by the tooling layout rather than by the mix. A pattern that runs across a panel edge has to be set out so it continues at the next panel, and a return has to be planned or it becomes the place every visitor looks. Getting this right is largely a matter of agreeing the setting out before liners are cut. Getting it wrong is expensive because the remedy is new tooling.

Working in an unheated yard

Precast happens outdoors in the UK, and the weather affects the tooling as much as the concrete. Cold slows everything and makes an elastomer stiffer to handle, wet leaves water sitting in relief, and a hot afternoon changes how a release film behaves across a large face. None of that is a reason to specify differently, but it is a reason to write the routine for the yard you actually have. Ask for the tooling to be specified against your conditions rather than a workshop.

Repair against replacement

A damaged liner is not automatically scrap, and it is not automatically repairable either. Surface damage away from a critical face can often be made good, while a tear through a feature that repeats across a facade usually cannot be hidden and should be replaced. The decision belongs with whoever will be judged on the finished face, so it should be taken with a sample panel in front of you rather than over the phone. We would rather tell you a liner is finished than watch it mark fifty units.

Trials are cheaper than a facade

Almost every liner problem we are asked to solve would have been visible on a trial panel. The trial shows how the release regime suits the mix, how cleanly the relief strikes, and what the surface really looks like at the scale it will be seen from. It also gives the crew a rehearsal before a unit matters. Where a programme cannot afford a trial, it usually cannot afford the remedial work either.

Colour consistency

Panels that match in the yard and not on the building are usually a curing and absorption story rather than a liner story. But a liner that is inconsistently released or unevenly worn will absolutely produce a visible patchwork. Rotate liners deliberately and retire them as a set.

What we need from you

The mix design. The intended cycle time. Whether panels are steam-cured. A physical texture reference, which beats a photograph every time. Panel size, and how many square metres in total. That is what decides the material, the hardness, the backing, and whether silicone is even the right answer for you. See precast, cast stone and architectural restoration applications and the five moulding routes: hand-made, cast, vacuum cast, compression, injection.

Back to contents

GRC and precast

Why do big silicone moulds sag, and what stops it?

Technical reference · Mould engineering

Small silicone moulds work almost regardless of how they were made. Large ones only work if somebody thought about stiffness, and this is where most disappointing large tooling goes wrong.

The problem

Silicone is a rubber. Unsupported over a large span it deflects under its own weight, under the weight of whatever is poured into it, and under vibration. The result is castings that are dimensionally inconsistent in a way that is genuinely hard to diagnose, because it varies with how the mould was stored, how full it is and how warm the yard is that morning.

The answer is a backing shell

Production silicone tooling above a modest size should be a two-part system. A relatively thin silicone cavity face carries the detail and the release. A rigid backing shell carries the load and defines the position. Shells are typically GRP, machined or fabricated aluminium, timber for a short run, or printed where the geometry is awkward.

A shell buys you consistent geometry, faster handling and safer demoulding. It also buys a cheaper repair path, because when the cavity face eventually wears you replace the silicone and keep the shell.

For anything sizeable, budget for the shell from the outset. Retrofitting one to a mould that was never designed for it is rarely satisfactory.

What is different about GRC moulds?

Glassfibre-reinforced concrete is sprayed or hand-laid rather than poured, which changes the demands completely. The mould takes direct spray impact and repeated hand pressure. It has to hold its shape while thin layers build up. Then it has to release a relatively thin, fragile casting without cracking it. Draft, edge detail and the demould sequence matter far more here than raw hardness does.

Restoration and heritage work

Taking tooling off a weathered original brings its own problems. Friable surfaces. Contamination that inhibits a platinum cure. Deep undercuts carved by erosion. A one-of-a-kind object you cannot afford to damage. Our usual sequence is to stabilise and seal, make a safe archive mould first, then produce production tooling from a corrected pattern rather than from the fragile original.

The build-up, from formwork to face

A liner is a stack rather than a sheet: formwork panel, backing board, the elastomeric face, and whatever release regime sits on top of it. Each layer has a job, and problems get blamed on the wrong layer all the time. A face that ripples is usually a backing that was not flat. A panel that shows a board joint is usually a backing that was not stiff enough for the pour it took.

Lifting, storing and moving large tools

Lifting points belong in the design rather than in the crew's judgement on the day. Specify how a tool is lifted, how it is stored and how many may be stacked, and put all three on the paperwork that ships with it. A tool that has been dropped on an edge rarely announces itself at the time, and turns up later as a mark on a visible face nobody can explain.

Rigidity where it matters, flexibility where it helps

The point of a backing shell is not to make everything rigid but to decide which parts move. A face has to hold its shape under the pour, and a section over an undercut has to be able to flex enough to release without tearing. Designing that split deliberately gives you dimensional stability and a tool that can be stripped by hand, where an entirely rigid tool gives you neither. It is the single decision that separates tooling that survives a programme from tooling that survives a sample.

Vibration, compaction and what the tool has to take

How a unit is compacted changes what the tooling has to withstand. Poker vibration puts local energy into the face, table vibration puts it into the whole assembly, and a self-compacting mix puts hydrostatic pressure against every surface at once. Each of those wants a different backing and a different fixing regime, so the compaction method belongs in the enquiry alongside the geometry. A tool specified for the wrong one will either leak or lose its shape.

Sizes, seams and set-out on large panels

Panels get large enough that the tooling has to be made in sections, and then the seams become part of the design. A seam placed on a feature line disappears and a seam placed across a flat face never will, so the sectioning is agreed before anything is cut. Larger sections mean fewer seams and heavier handling, which is a trade the yard has to be comfortable with rather than one made for it. That balance is easier to strike when the crew who will use the tool are part of the conversation.

What to send us for a large tooling enquiry

The most useful package is the panel geometry, the mix and compaction method, the number of units and the rate they are needed at, and a photograph of where the tooling will be used and stored. Add any surface reference or approval sample that already exists. With that, a specification can be written with the assumptions on the page. Without it, the honest answer is a range rather than a recommendation.

Heritage work needs its evidence recorded

On restoration jobs the mould is often the only complete record of a detail that no longer exists anywhere else. That makes the archive copy and the drawings part of the deliverable rather than a by-product, because the next phase of the building may be twenty years away. Recording what was taken from the original, what was reconstructed and why is what allows a later contractor to match rather than reinterpret. It is also the part that is impossible to recreate once the scaffold has gone.

Handling

Large tooling gets damaged in storage and transit more often than in service. Design the lifting points, specify how tools are stored (flat, supported, out of direct sunlight) and put it on the paperwork that ships with the tool. See GRC, cast stone and precast concrete mould making for what that looks like in practice, or read up on the five moulding routes: hand-made, cast, vacuum cast, compression, injection.

Back to contents

Specification

What goes in a tooling enquiry for a precast programme?

Practical guide · Enquiry checklist

Most quotations for construction tooling are slow because the enquiry is incomplete, and most tooling disappointments trace back to something nobody asked. So here is what we actually need from a precast yard manager, and why we need it.

The geometry

  • Panel or unit size, and the tolerance that matters. Not a blanket tolerance across everything.
  • A physical texture sample if surface finish is specified. Photographs and render outputs are not enough for texture.
  • Where the parting line and any joints may fall, or which faces are visible in the finished building.
  • Undercuts, returns, reveals. Flagged explicitly rather than left in the model for us to find.

The process

  • Mix design, including admixtures and any fibres.
  • Poured, sprayed or hand-laid.
  • Curing regime: ambient, accelerated or steam. Steam curing changes the material choice.
  • Cycle time and shifts per day. Cycles per tool per week is the number that sets tool life.
  • Release agent currently in use.

The programme

  • Total quantity of units or square metres, and over what period.
  • How many tools you intend to run in parallel.
  • First-delivery date, plus any sample or approval panel milestones.
  • Whether replacement tooling will be needed mid-programme. That changes whether we build for repairability.

A programme quantity and a cycle rate turn a guess into an engineered recommendation. Without them, any quotation you receive is a shot in the dark.

Reuse count is the commercial question

Everything above feeds one number, which is how many pours each liner will take. A liner costs the same for one pour as for a hundred, so the cost carried by each square metre of finished face falls in direct proportion to reuse (PERI UK and RECKLI). So we ask for a programme quantity rather than a panel count, and a yard that can repeat a bay is buying a different product to a yard that cannot.

What to expect from an approval panel

Where the surface is specified, a trial panel cast with the real mix, the real crew and the real liner is the cheapest risk reduction available on the job. It settles arguments about texture and colour before a facade exists, it tests the release regime on the real mix, and it leaves everybody a physical reference to sign against. Put the panel and its approval milestone in the programme, because adding them later costs weeks.

Who carries which risk

Tooling sits between the designer who specified the finish, the yard that has to produce it and the contractor who has to accept it, and disputes usually come from that boundary being left vague. Settling in writing who owns the tools, who approves the surface, who pays for a repair and who decides when a liner is retired removes most of the argument before it starts. It also makes the price comparable, because a cheap quotation that excludes all of it is not the same purchase. Ask for those four to be answered in the quotation.

Reading a tooling quotation properly

Two quotations for the same drawing are rarely for the same thing. One may include a backing shell, marking, a stated life and a repair route, and the other may be a face and a price. The comparison only works once each quotation states its assumptions about mix, cycle and quantity, because those are what the life figure depends on. Where the assumptions are missing, ask for them rather than for a discount.

The information that changes the price most

Three things move a tooling price more than anything else: the number of units, the rate they are needed at, and how much of the surface is critical. A programme quantity turns a guess into an engineered recommendation, a rate decides how many tools are needed at once, and a critical surface decides how the tool is built and how early it is retired. Supplying all three usually reduces what you pay, because it removes the contingency a supplier has to add for the unknown.

Keeping the specification alive through the job

A specification that is agreed and then filed does not survive contact with a busy yard. It works when the strike sequence, the release regime and the storage rules are on the paperwork that ships with each tool, and when somebody owns the pull log. Reviewing that log part way through a programme is what allows a replacement to be ordered before a face starts marking. That single habit is the difference between planned tooling spend and an urgent one.

Getting the crew into the specification

The people who strike the units know things the drawing does not, and asking them early is free. They can say which corners get levered, where a tool is dragged, how much a bay actually turns round in a week and what the storage really looks like. A specification written with that in it survives the yard, and one written without it gets adapted on the day by somebody solving a different problem. Where we can, we would rather visit than guess.

What you should get back

A specification naming the material and the hardness. An expected tool life stated against your cycle rate and your mix. A defined cleaning and storage method. A repair or replacement route. Identification marking on each tool so you can track it. If a quotation contains a price and a lead time and none of the rest, ask for the rest. Send us a panel drawing and a programme quantity and we will work through it, or read how the five routes compare under the five moulding routes: hand-made, cast, vacuum cast, compression, injection.

Back to contents

Designed and developed in the UK, with UK manufacturing capabilities.

Every job is drawn, specified and engineered at our own facility in Bidford-on-Avon, Warwickshire. We hold the moulding capability here too: hand-made, cast, vacuum cast, compression and injection, with tool making, inspection and finishing in the same building. On some programmes we place part of the production with partners we have used for years. We will tell you which route your job is taking before you order, and how that works is set out on our About page.

The two questions behind every liner enquiry

How the money behaves, and how the choice gets made.

Both diagrams below use the same indicative liner rate as the rest of this site, so you can follow the arithmetic rather than take it on trust.

Scroll sideways to see the whole diagram.

The curve is steep at the left and flat at the right, and that is the whole commercial story. Going from one pour to ten takes ninety per cent out of the cost per square metre of face. Going from forty to a hundred saves a further five pounds or so, which is real money on a long run and rarely worth redesigning a facade for. Plotted from published figures from PERI UK and RECKLI, at an indicative liner rate, on logarithmic axes.

Scroll sideways to see the whole diagram.

The honest break is at the first pour. A one-off feature elevation gets no amortisation saving at all, so it should be specified for the finish alone. Once a liner repeats, the money moves from the face to whatever keeps the face alive: backing, hardness and the strike sequence. By the hundreds the cost per square metre is small enough that the durable build-up is the cheaper decision, because a remake mid-run costs more than the material difference ever will.

Glossary

Sixteen terms worth getting straight.

The vocabulary that causes the most confusion in enquiries, defined plainly.

Addition cure
Platinum-catalysed cure with no by-product. Negligible shrinkage, commonly quoted under 0.1%. The chemistry behind food-contact and skin-safe grades. Also called platinum cure.
Condensation cure
Tin-catalysed cure that releases an alcohol by-product, causing shrinkage of around 0.3% plus creep, and shortening the useful life of the mould. Also called tin cure.
Cure inhibition
Failure of a platinum-cure silicone to set against a contaminated surface, leaving a tacky layer. Caused by sulphur, tin, amines, latex or uncured resins.
Draft
The slight taper on a wall that lets a part release. Every degree reduces demoulding force and buys tool life.
Flash
Excess material at the parting line of a moulded part. Removing it is labour, and labour is often the largest single share of unit cost.
Formliner
A liner fitted inside concrete formwork to impart texture or relief to the cast face.
GRC
Glassfibre-reinforced concrete. Sprayed or hand-laid rather than poured, which changes what the mould has to withstand.
Library life
How long a finished mould stays usable in storage. Considerably longer for platinum-cure than for tin-cure silicone.
LSR
Liquid silicone rubber. Injected into a heated tool for high-volume production with short cycles and minimal flash.
Parting line
Where the parts of a multi-piece mould meet, leaving a witness mark on the casting. You choose where it goes. Its existence is not optional.
Polysiloxane
The silicon-oxygen polymer backbone of silicone. Contains no fluorine, which is why standard silicone falls outside the OECD PFAS definition.
Post-cure
Heating a cured silicone article for a period after moulding to drive off residual volatiles. Generally required for food-contact compliance.
Shore A
The hardness scale for rubber. A trade-off dial: release and detail at the soft end, dimensional stability and durability at the hard end.
Undercut
A feature that mechanically locks a casting into the mould. Silicone can flex off modest undercuts. Deep ones need a split tool.
Vacuum casting
Casting into a silicone tool under vacuum to eliminate trapped air. The practical bridge between one-off parts and production tooling.
Witness mark
Any visible trace the tool leaves on the part: parting line, gate, vent or ejector.
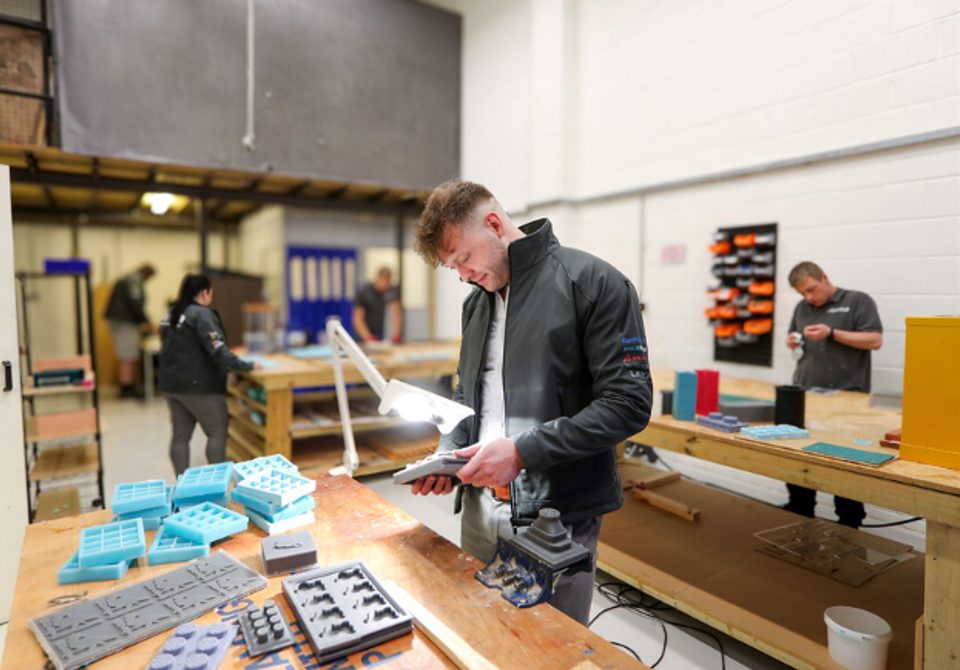
The tooling bench at the TCI workshop in Bidford-on-Avon

Where this comes from

Written by the people who make the tooling.

Nothing on this page came from a copywriter. It is the accumulated answer to questions customers have asked us since 2019, checked by the engineers who specify the tooling and pour the silicone in Bidford-on-Avon.

Regulations change and materials get reformulated. Where we cite a rule we name it, so you can see for yourself if it has moved. Spot something out of date and tell us. We will correct it.

Quick answers

The eight we are asked most.

Is silicone a PFAS?

Standard silicone is not. A conventional silicone elastomer is a polysiloxane with no fluorine in it, so it does not meet the OECD definition of a PFAS. The exception is fluorosilicone, which carries trifluoropropyl groups and does meet it. The grade matters, so ask for it by name.

What is the difference between food-grade and food-safe silicone?

Neither term has a fixed legal meaning. What matters is that the article satisfies Regulation (EC) 1935/2004, is made under the good manufacturing practice required by 2023/2006, and meets the requirements of BfR Recommendation XV for silicones, which in practice means it has been properly post-cured. Ask for a declaration naming the instruments rather than an adjective.

Why is my silicone mould still sticky where it touched the master?

Cure inhibition. The platinum catalyst has been deactivated by contact with sulphur, tin, an amine, latex or uncured resin. The tacky layer will not rescue. Cut it away, find the contaminant and get rid of it, seal the surface, start again. Always test-cure a small blob on the real master first.

How many castings will a silicone mould give me?

It depends far more on how the mould is treated at demould, in the wash and in the oven than on the silicone grade. Ask for an expected life for your specific process, with the assumptions written down, then count actual pulls per tool. Cost per pull is the number that matters.

Should I choose a softer or harder silicone?

Softer releases better and captures finer detail, but it distorts under load and tears more easily. Harder holds dimension and lasts longer in abrasive service, but it fights you on undercuts. The right answer comes out of your geometry, your cast material and your process pressure.

Can you work from a physical part with no drawings?

Yes, and a lot of our work starts that way. We can mould directly from an object, or scan and rebuild it as CAD so corrections are possible and the tool can be remade in future. Tell us what the part is made of and what has been cast against it, because contamination history affects whether platinum-cure silicone will cure against it at all.

Do you hold certifications?

We make no certification claims on these pages. Any scheme certification, accreditation or third-party audit status must be confirmed by TCI directly before you rely on it. We would rather you asked us than trusted a badge on a website. We can prepare tooling documentation for your own audit.

Where are your moulds made?

Design and development happen in our own facility in Bidford-on-Avon, Warwickshire, with UK manufacturing capability behind it. Some production is placed with UK manufacturing partners, and we will tell you when that applies to your job. We ship worldwide from Warwickshire.

One group, four specialisms

TCI Construction is part of TCI Group.

The same silicone knowledge sits behind all four divisions. Only the application changes.

Still not sure?

Send us the part itself.

Describe what you are making and what has gone wrong, or send a photograph and a drawing. You will get a technical answer back from somebody who makes moulds for a living.