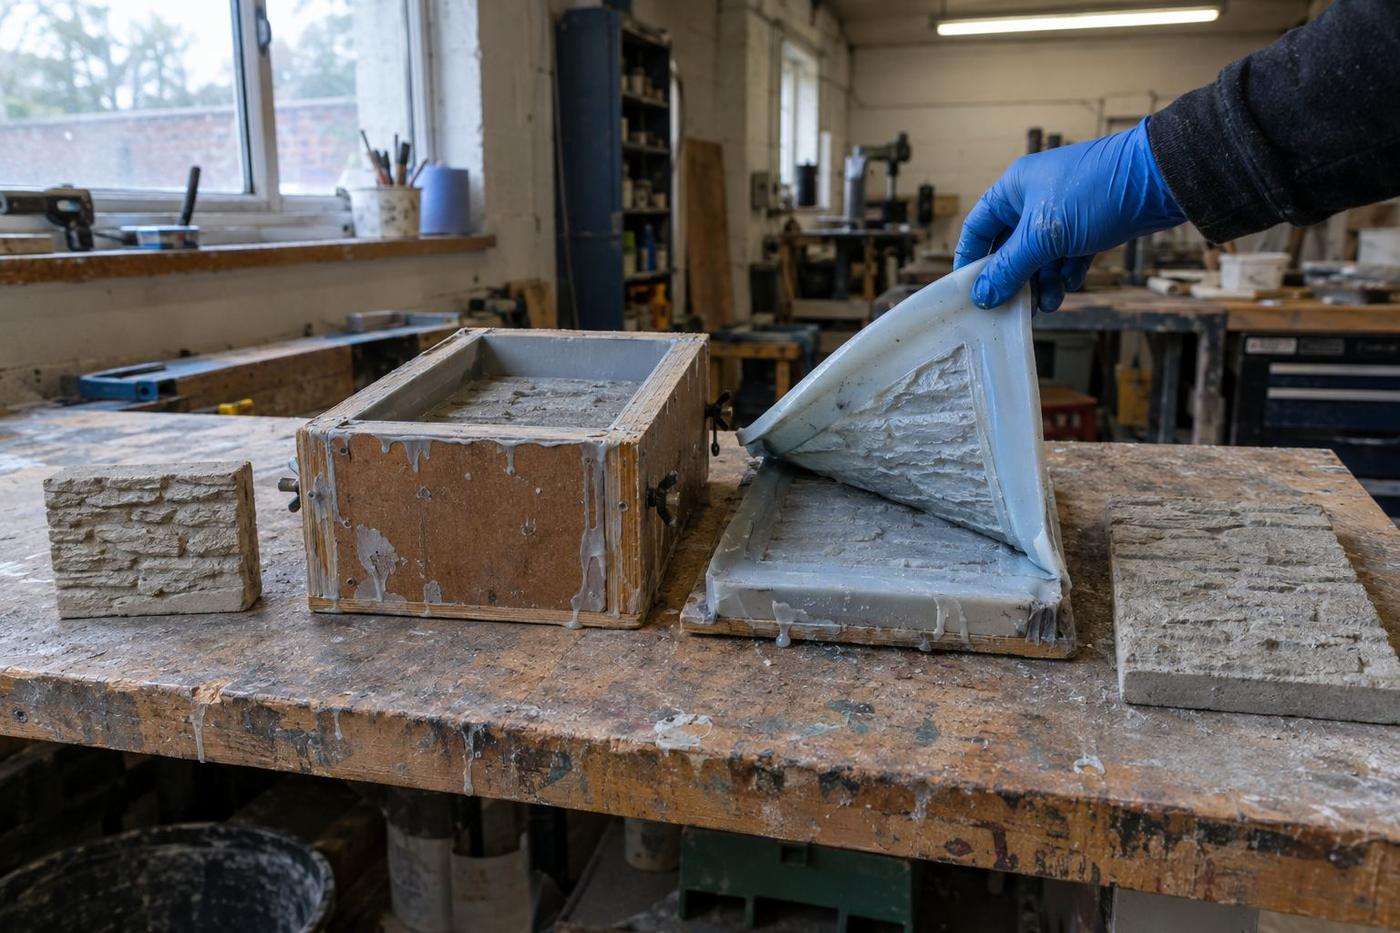
Enquiry
A photograph, a line about the mix, a rough count of pours. Same-day human reply with a route recommendation and an honest rough number.
TCI Construction · Processes
Five steps from enquiry to formliner on your bed. Each one is straightforward on its own; the skill is in specifying the right combination for the job in front of you.
The five steps
A photograph, a line about the mix, a rough count of pours. Same-day human reply with a route recommendation and an honest rough number.
Draft angles, split lines, splice positions, lifting features, backing frame. Nothing left to be worked out at the pattern bench.
Master pattern machined, sculpted or scanned. Silicone or polyurethane poured against it. Mother mould built where the geometry needs one.
Tool delivered to your bed. First-pour approval attended where the geometry is unusual or the customer is new. Any tweak happens before we call the tool released.
Tool stays with you. Drawing, pattern and material spec stay with us. When end-of-life is approaching, order the replacement early — it comes off the same pattern.
Pattern making
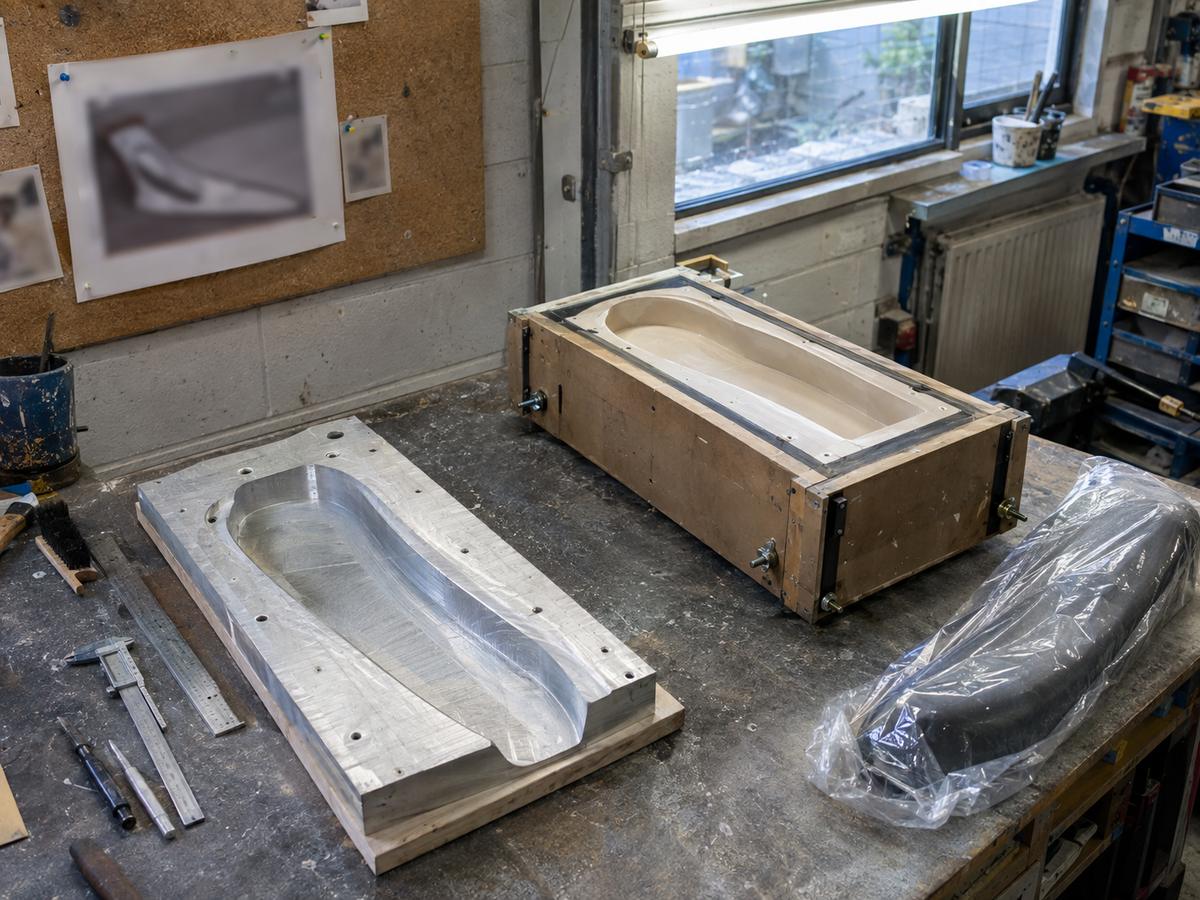
Machined patterns. Cut from tooling board or timber on a CNC bench, sometimes hand-finished. The right choice for geometric relief, repeat modules, and anything where the drawing is definitive.
Sculpted patterns. Hand-worked in clay, plaster or dense foam. The right choice for organic detail, foliage relief, hand-drawn ornament and heritage-style detail that would look wrong if machined.
Scanned patterns. Digitised from a physical original — a surviving cornice, a competitor's piece, a natural texture. The right choice for reproducing something that already exists but isn't drawn.
Most jobs use one route; some combine two (machined base with sculpted detail set in, or scanned original with hand-finished repairs). We pick the combination that fits the job.
Moulding
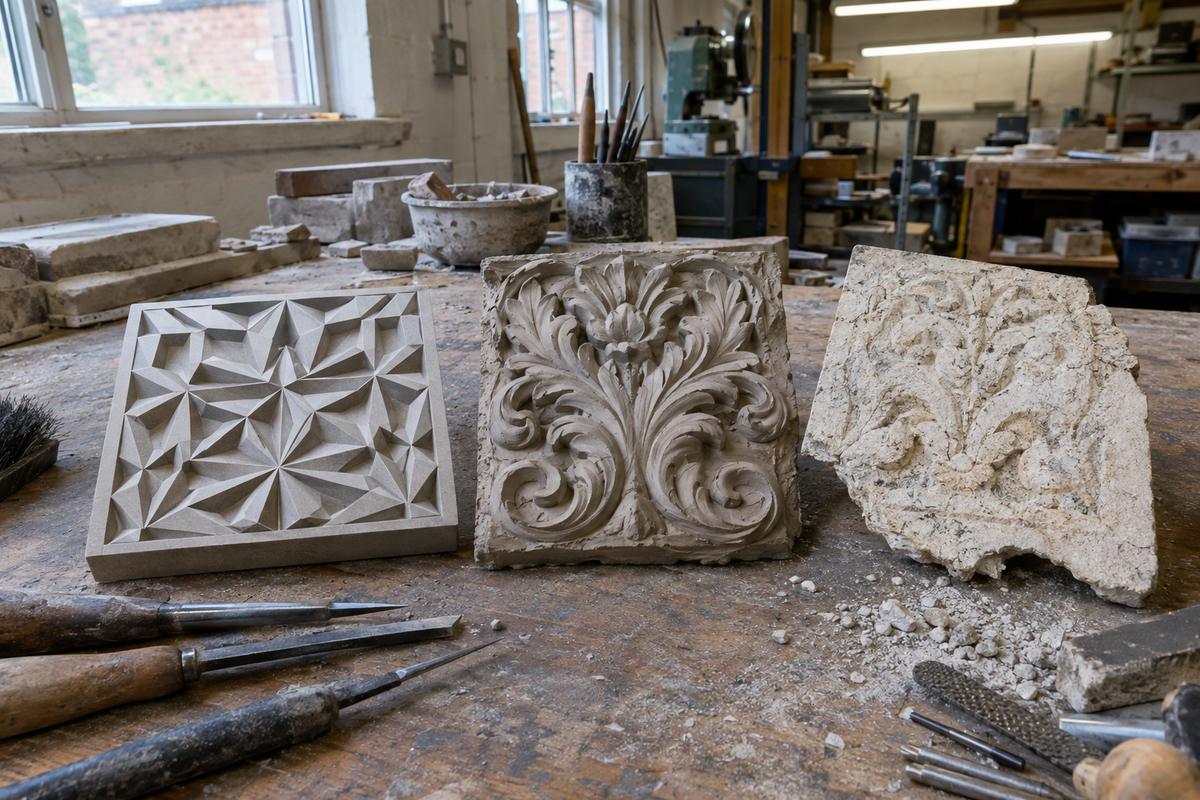
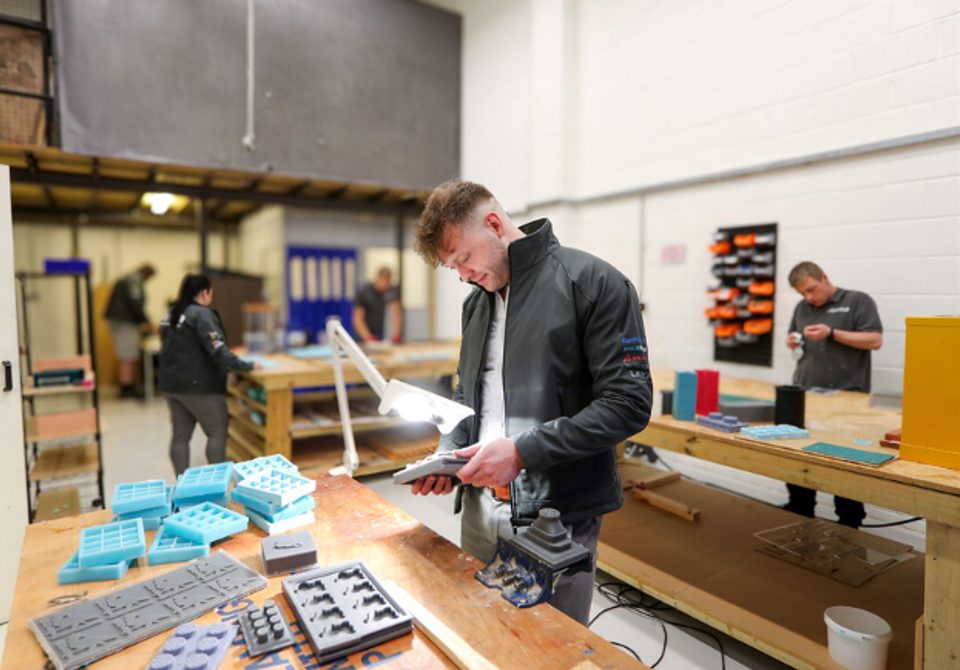
Two-part silicone measured, mixed, degassed and poured over the pattern in a controlled bench pour. Cure time set by the grade. Backed with a rigid mother mould before demoulding from the pattern.
Two-part polyurethane mixed and poured. Slightly different bench setup than silicone. Typically doesn't need degassing at the same level; still needs a rigid backing frame for larger tools.
Where a tool has silicone details in a polyurethane surround (or vice versa), inserts are moulded first and set into the surround pattern before the main pour. Coordinated to align exactly on the finished tool.
Rigid backing frames in GRP, plywood or steel depending on scale. Lifting features (vacuum-lifter fixings, frame attachments) built into the mould at the same stage.
Delivery and first-off
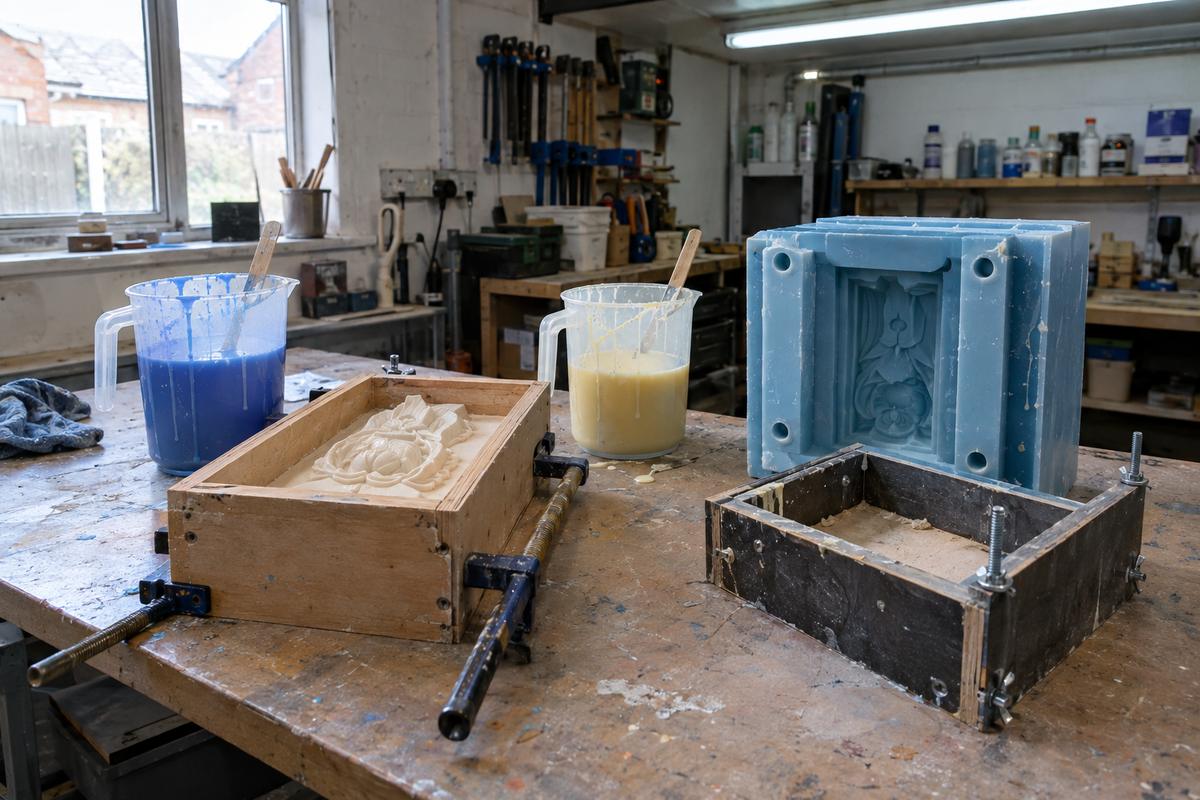
The tool is inspected, photographed and packed at our workshop. For anything small enough to fit on our own vehicle, we deliver directly. For larger tools, we co-ordinate a suitable freight route.
For new customers or unusual geometry, we attend first-off pour with you. That's typically a half or full day at your yard. It's part of the price on those jobs — we don't invoice it separately.
The tool comes with a written material spec, a release-agent recommendation, and photographs of what the tool looked like on delivery. That record is the baseline for any warranty conversation later.
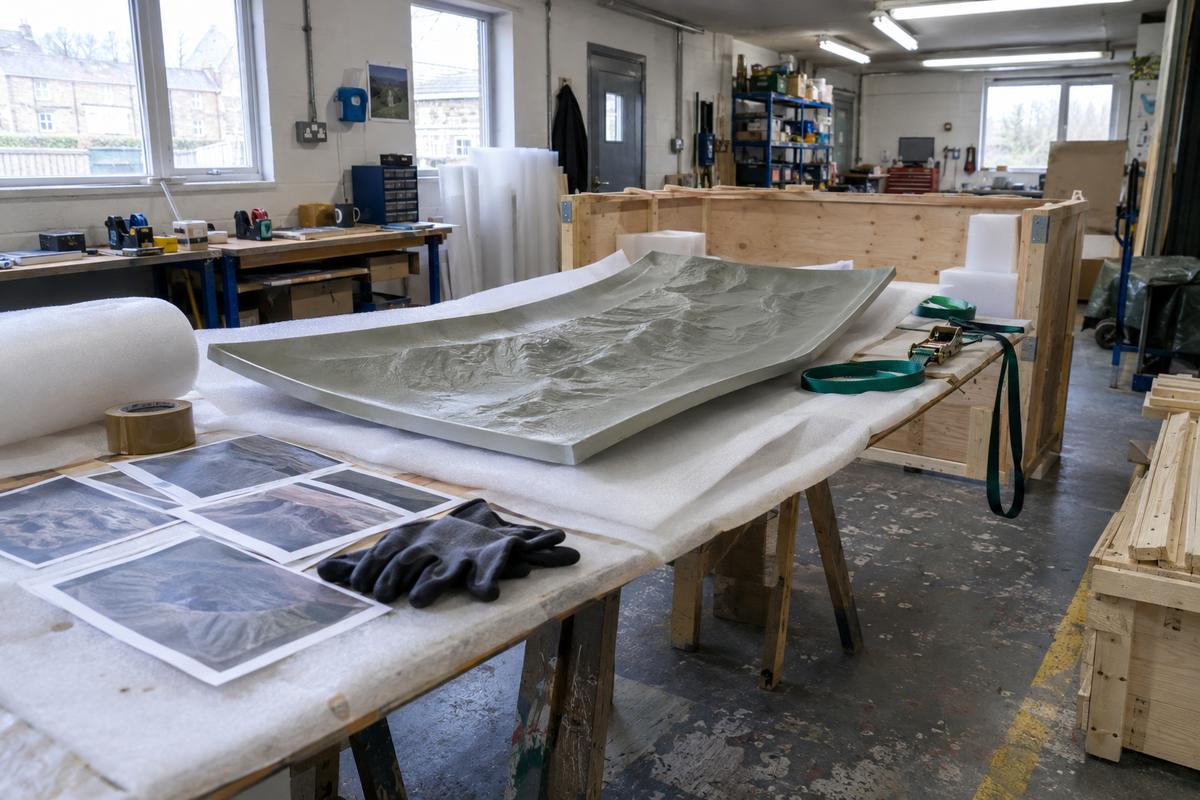
Where to read next
Where the tooling gets used — eight application areas from precast to decorative.
Read moreAt a glance
From sample to finished cast
Swipe to see the whole diagram
Get in touch
One photograph tells us what surface you're chasing, and one line about the mix tells us what silicone or polyurethane will survive it.
Real people, a real workshop
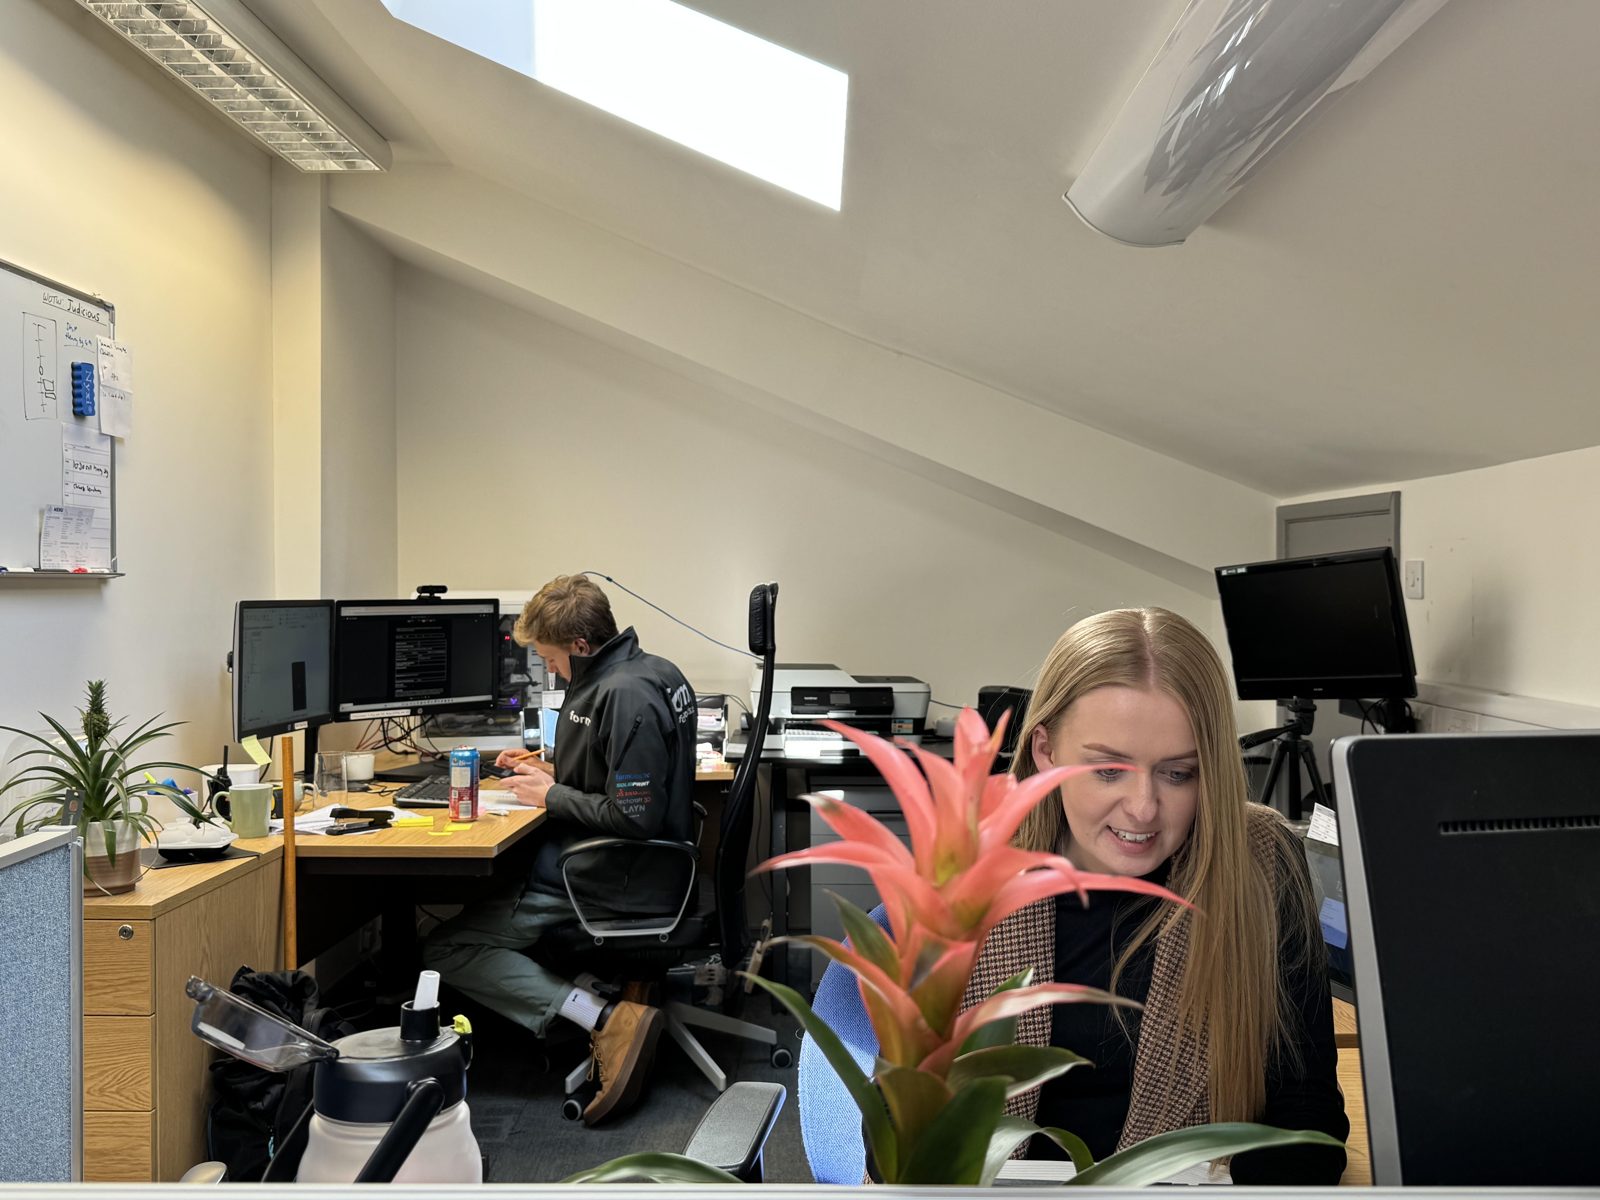
No call centre and no middlemen. When you contact TCI Construction, you speak to the team who design, build and check your mould.
 Thomas LaneManaging Director
 George PrestonDesign & Project Manager
 Kelly BallingerHead of Partnerships
 Jim AndertonProduction Manager
 TheodoreEmployee Welfare