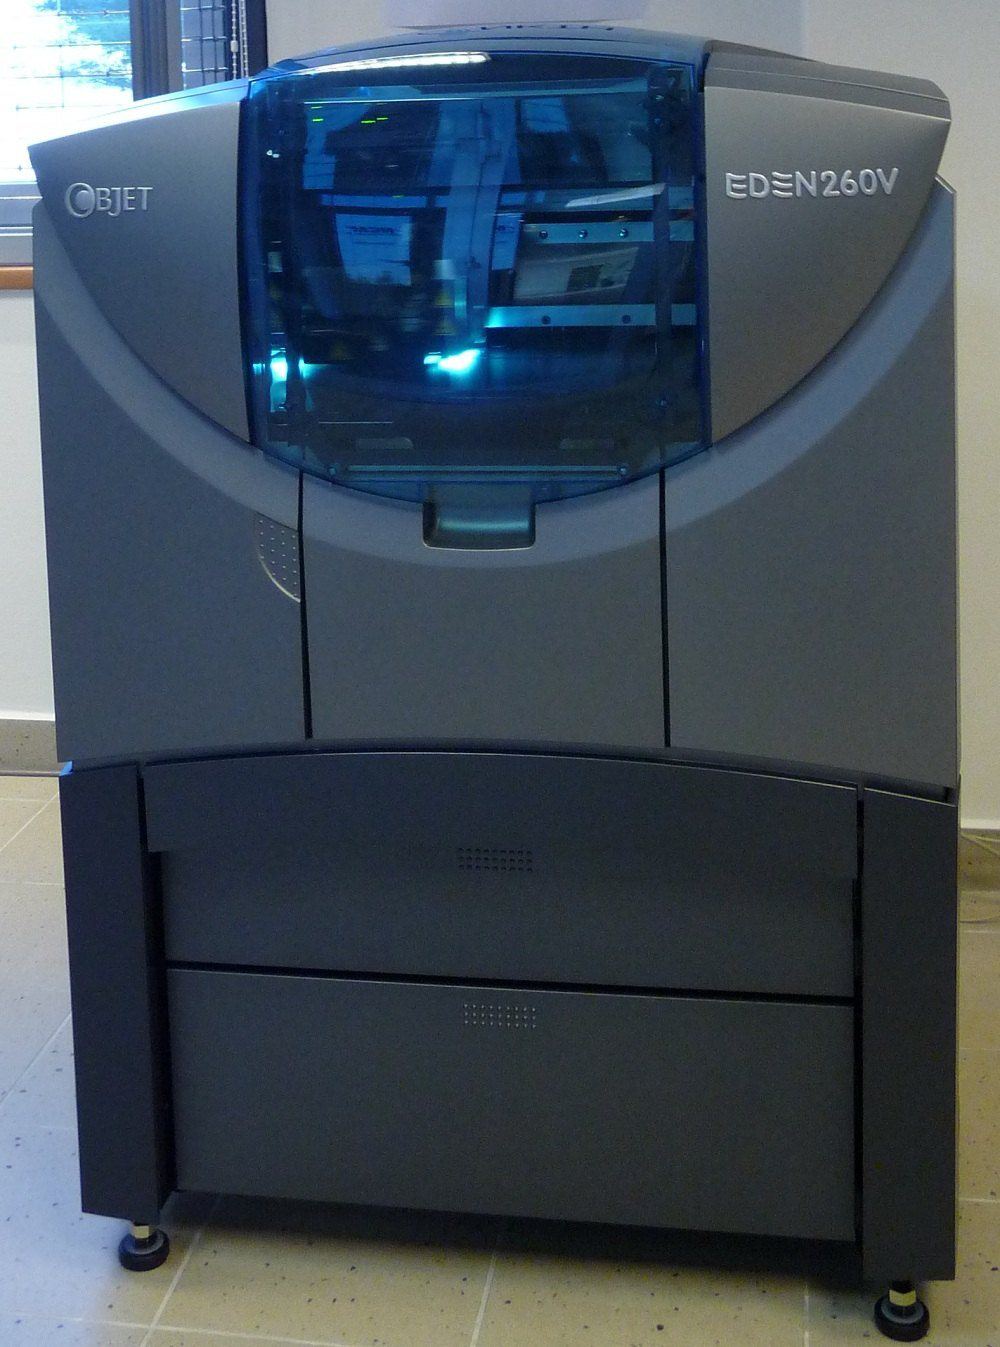
Jet
Printheads deposit droplets of resin.
Manufacturing services · Chapter F · Method 36
Printheads jet tiny droplets of photopolymer and cure them instantly with UV light. Mixes rigid, rubber-like and coloured materials in one print.
How it works
A labelled schematic of the process (not to scale), and the four steps every job goes through.
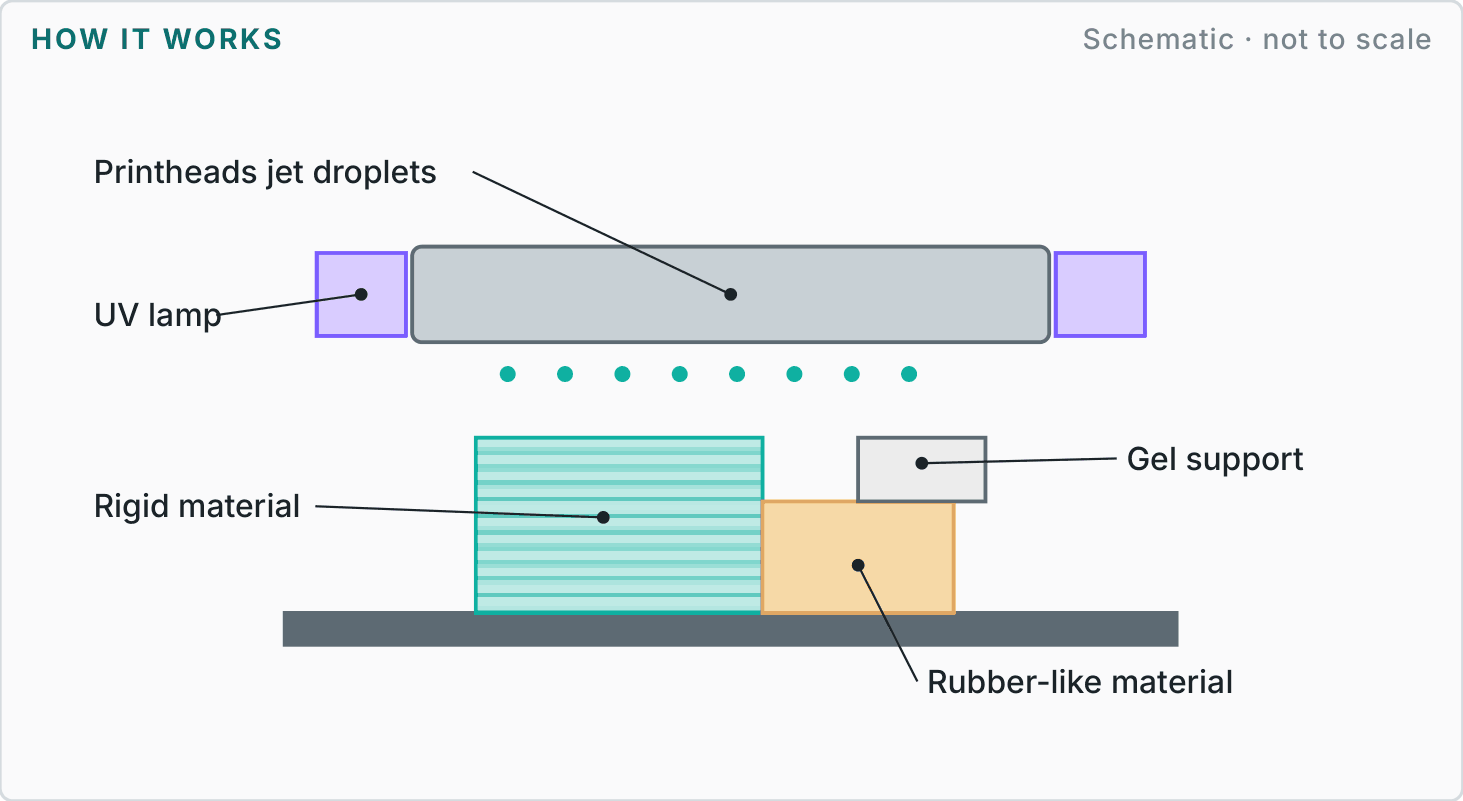
Printheads deposit droplets of resin.
UV lamps cure each pass immediately.
Gel-like support fills gaps and overhangs.
Water-jet away the support material.
Reference figures
Typical industry values to help you plan. We agree the figures for your part on the drawing.
| Materials | Rigid opaque and clear photopolymers, rubber-like Shore A blends, full colour. |
|---|---|
| Finishes | Gloss or matte; very smooth surfaces; full-colour textures. |
| Design guidance |
|
| Best suited to | Realistic prototypes, overmould simulations and fine-detail master patterns. |
| Watch-outs | Parts are less durable and UV-sensitive; not for long-term end use. |
More in chapter F
Next step
Send a sketch, photo, sample or CAD file with your quantity and target date. We will recommend the most sensible route and explain the trade-offs before quoting.
Reference figures are typical published industry values for planning, not a guarantee; final tolerances, materials and finishes are agreed in writing for each project.